Whether you’re hair inspiration comes from easy-texture, romantic waves or this year’s exaggerated beehive, updating your look can be super easy if you have the right tools. I was recently asked whether I wanted to create a hair look, using the new Candy Collection 1″ Professional Styler by ghd. Of course, my answer was yes! I’ve never owned a ghd iron before but have always heard from others that they make fantastic haircare tools. To celebrate their new limited edition Candy Collection Stylers, ghd sent me one to create my own Spring/Summer Inspired Look. The Candy Collection is perfect for brightening up any styling routine and includes the classic styler in three adorable colours: mint, lemon and violet. The styler features ceramic heat technology to straighten and smooth and a rounded body to create perfect curls and waves.
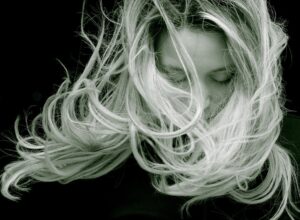
Historically, I have always used “straightening irons” to straighten my hair but this time I challenged myself to use this “styler” to create loose waves and curls. My inspiration came from the Venetian Venus’ undone waves pictured below. Although I opted for a curlier version of what you see below, I used only the styler mentioned above to create the entire look….no curlers, hot rollers, or a blow dryer… just the ghd styler in Classic Violet. I hope you like it!
 |
| Candy Collection ghd Styler in Classic Violet – $199 USD |
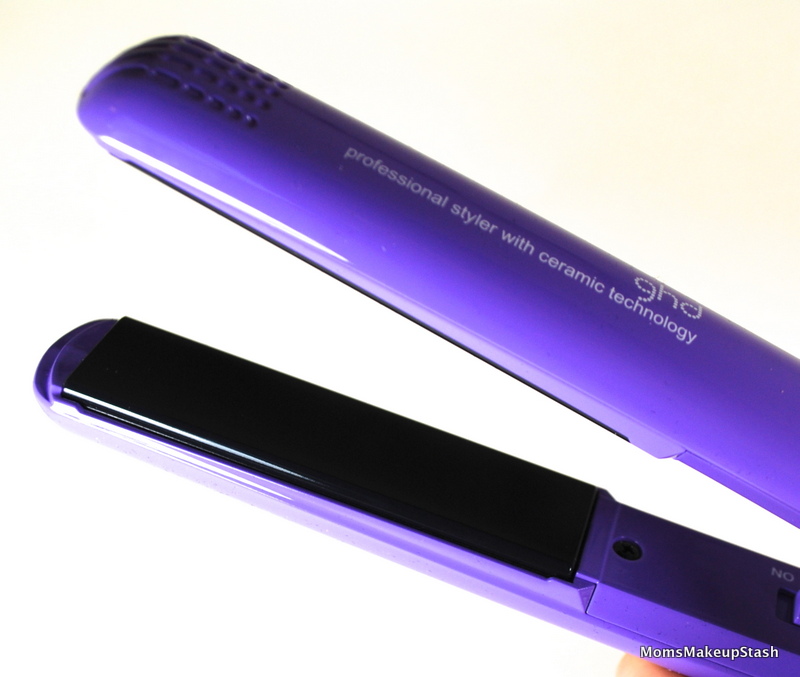 |
| ghd Styler Round Barrel & Ceramic Heaters |
 |
| ghd Styler One/Off Switch & LED Light Other Features: Sleep Mode & Universal Voltage Does Not Have Temperature Controls |
 |
| ghd Candy Collection Styler 2.8m Swivel Cord |
 |
| Venetian Venus – My Hair Inspiration |
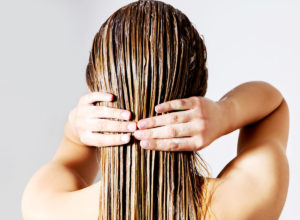
I started off by applying some mousse to clean, towel-dried hair. Making sure your hair is completely dry is a critical step, otherwise you’ll have difficulty creating or keeping a curl. I then brushed my hair, making sure it was tangle free. To create loose waves or curls, a 1 or 2″ styler like the one I used is best, rather than a flat iron with wider plates. Once the styler is hot enough and after prepping your hair with a heat protectant spray, part your hair into sections. You’ll notice that in the photos below the majority of my hair is already completed….this is because I was working on the last section of hair and my layered bangs when the photos were taken.
To section my hair, I divided all of my hair into three main sections. An upper section (from temple to temple), a middle section (from ear to ear) and a lower section (hair remaining). I always start with the lower, then middle and finally do the upper section last, pinning up the hair that I’m not styling as I go along. Grab the first piece of hair that you want to curl (about 1-1.5 “) and use the styler to clamp and twist the iron away from your face once. Glide it towards the ends of your hair, twisting at the same time. Continue curling each piece by clamping and sliding it from the roots towards the ends by twisting the styler around as you slide. Remember that smaller sections make tighter curls while larger sections create bouncier, looser and more natural looking curls. Apply some hairspray to each curl as you go through the entire process. Once all three sections are done, gently brush through your hair using your fingers.
 |
| Clamp Individual Pieces Around the Styler |
 |
| Use the Method Above to Curl Each Strand of Hair One at a Time |
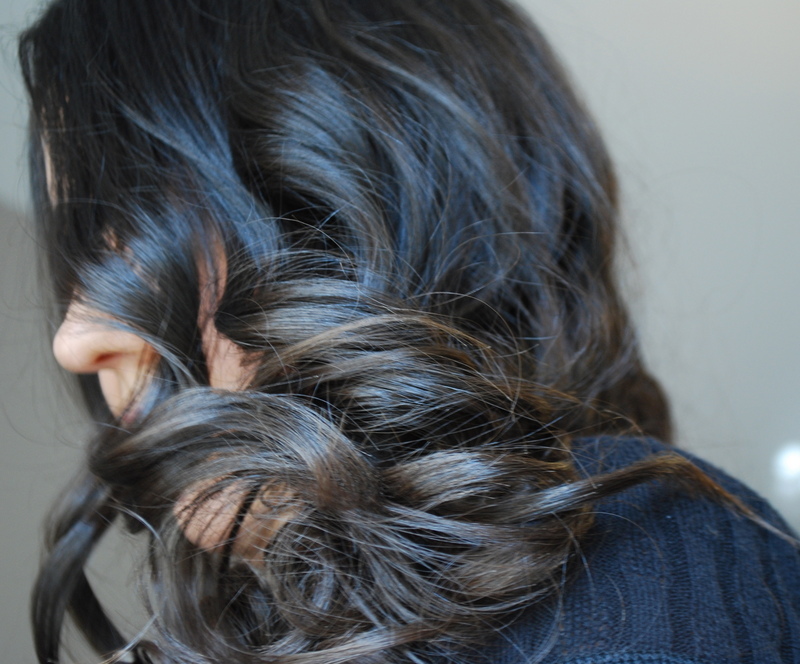 |
| All Hair Sections Completed & Before Finger Combing |
 |
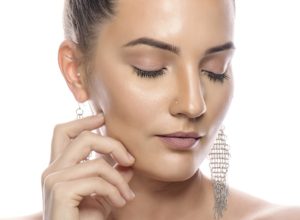
| The Finished Look |
What do you think of this look?
Do you ever use a straightening iron to create loose waves or curls?
Stay Connected!